Enable TPM 2.0 & Secure Boot on Lenovo / Legion
Lenovo and Legion desktops use the Lenovo Setup Utility — your PC's settings menu before Windows starts. You will enable the Security Chip (TPM 2.0), turn on Secure Boot, and make sure legacy boot is off. The menus are labeled clearly along the top.
Quick Reference
Last verified · 10 Sept 2026Difficulty & Time
BIOS Vendor
Lenovo Setup Utility / Legion UEFI BIOS
CPU Support
Intel 8th Gen, Intel 9th Gen, etc.
TPM Terminology
Secure Boot Location
Security → Secure BootSupported Chipsets
Standard Lenovo Setup Utility with clear Security and Startup tabs.
Legion-styled interface; Security Chip and Secure Boot are in the same places.
Step-by-step guide
Don't worry if your BIOS looks slightly different. Manufacturers often update colours and layouts, but the menu names are usually the same.
Enter BIOS
Turn on your PC and repeatedly tap F1 (or press Enter, then F1) until the Setup Utility opens — your PC's settings menu before Windows starts.
Enable Security Chip (TPM 2.0)
Open the Security tab and turn on the Security Chip. Lenovo uses this name for TPM 2.0.
- Select Security Chip.
- Set Security Chip Selection to Intel PTT (Intel) or AMD fTPM (AMD).
- Set Security Chip to Enabled.
Do not set Security Chip to Disabled or Hidden. Those options hide the chip from Windows.
Enable Secure Boot
Stay on the Security tab and turn on Secure Boot.
- Select Secure Boot and set it to Enabled.
- Confirm Secure Boot Status shows Enabled.
- If it shows Setup Mode, choose Restore Factory Keys.
Disable CSM
Open Startup (or Boot) and turn off older legacy boot modes so Secure Boot can work properly.
- Set CSM to Disabled, or
- Set Boot Mode to UEFI Only if that is the option you see.
Save & Exit
Press F10, then confirm with Yes. Your PC will restart with the new settings.
Screenshots
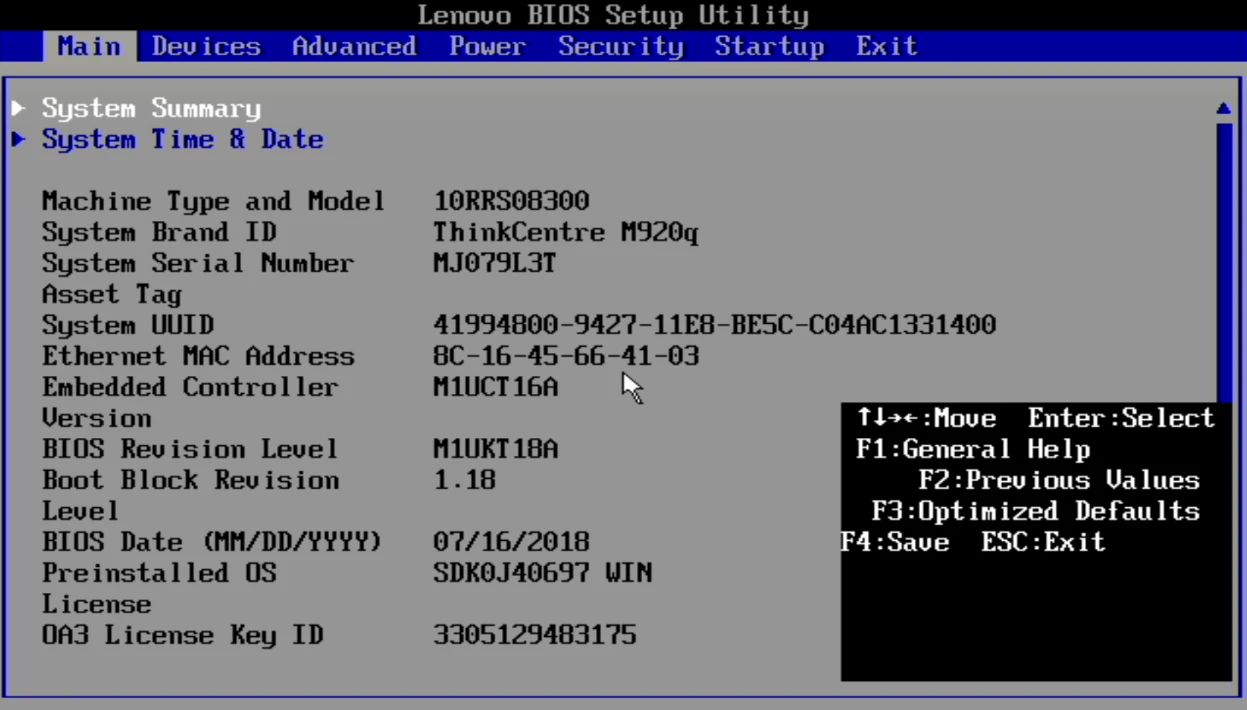
Lenovo Setup Utility — Main screen. Use the Security and Startup tabs along the top.
Things to watch for
Troubleshooting
tpm.msc to confirm TPM 2.0 is ready. Then run msinfo32 and check that Secure Boot State shows On.Was this guide helpful?